| |
|
| |
 |
| |
Operation 1 |
| |
|
| |
 |
| |
Operation 2 |
| |
|
| |
 |
| |
Operation 3 |
| |
|
| |
 |
| |
Operation 4 |
Kent-Moore J-969 Oil Nozzle Checking Tool Set
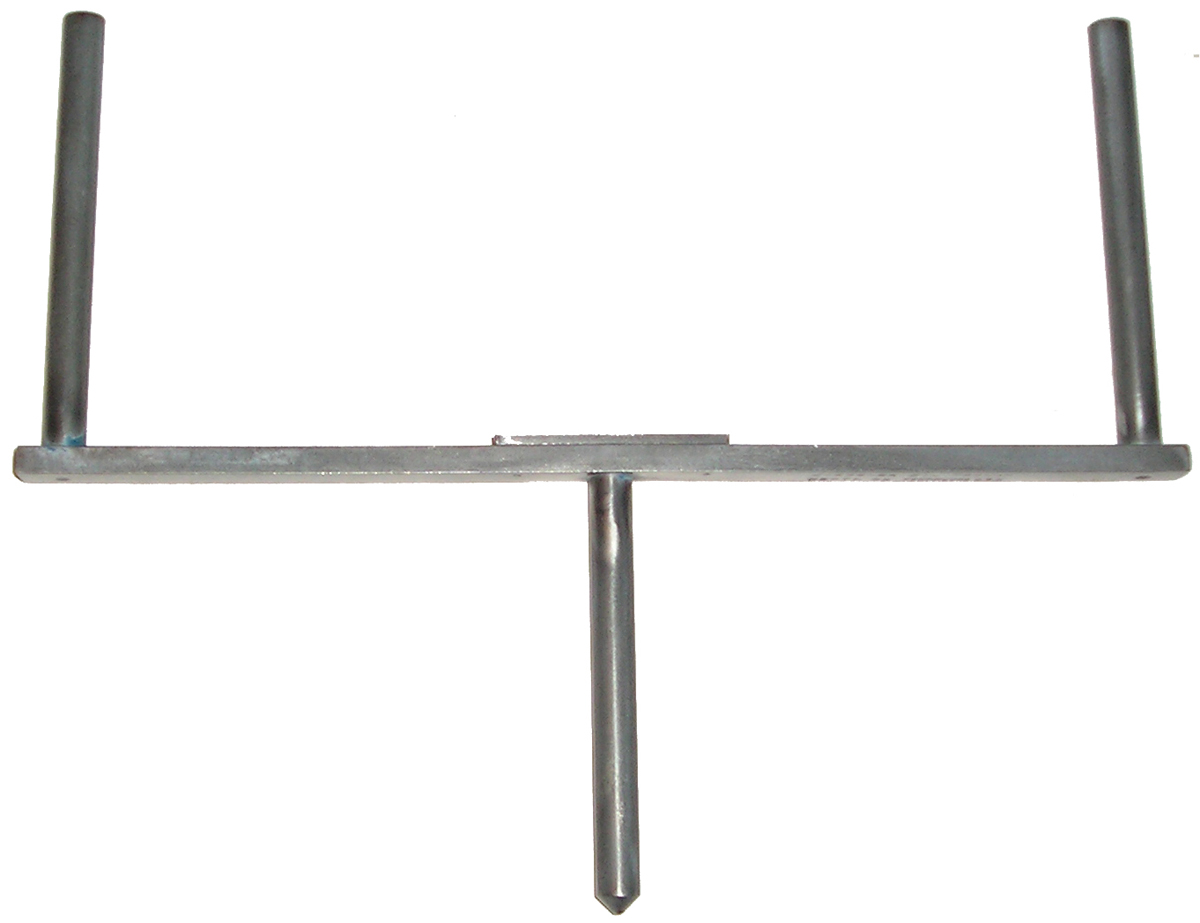
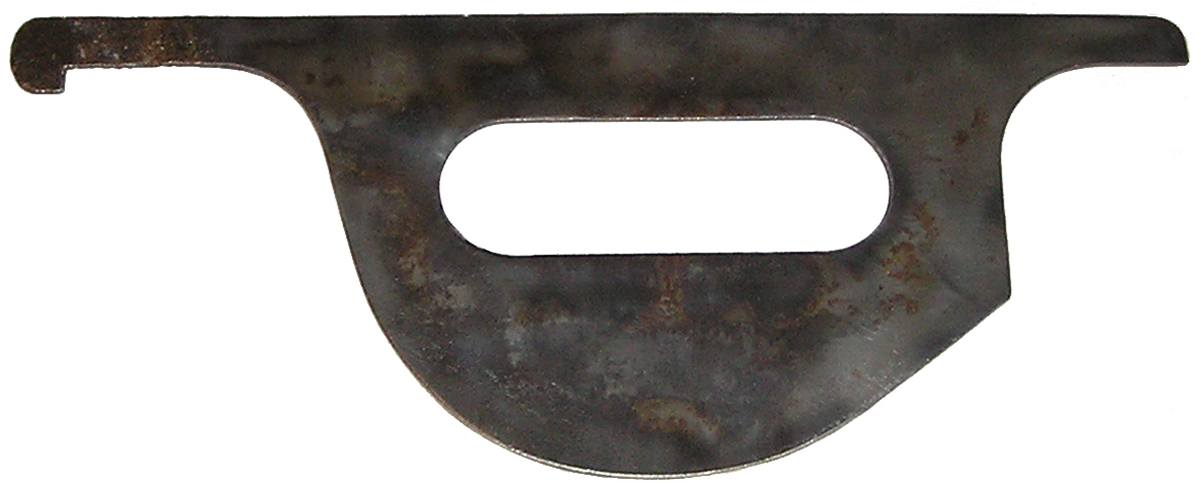
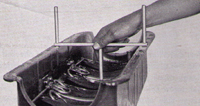
Operation 1. Use of J-969-3 Oil Line Nozzle Depth Gauge. Hook edge of gauge over side of pan with gauge facing front of engine. Gauge is marked with this direction. With the gauge resting flat on pan with gasket removed, move from one oil trough to the other—making sure that the open end of oil nozzle is below gauge.
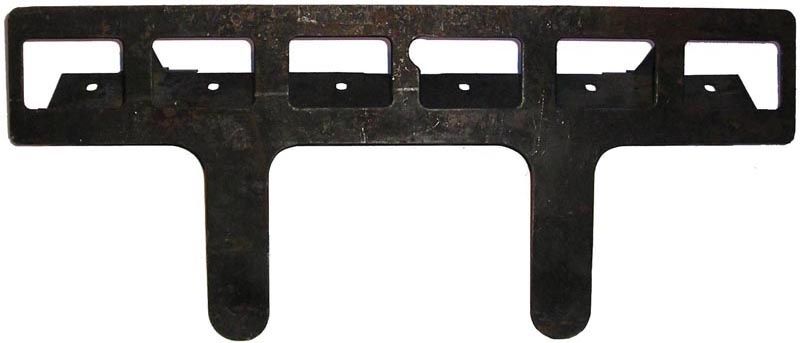
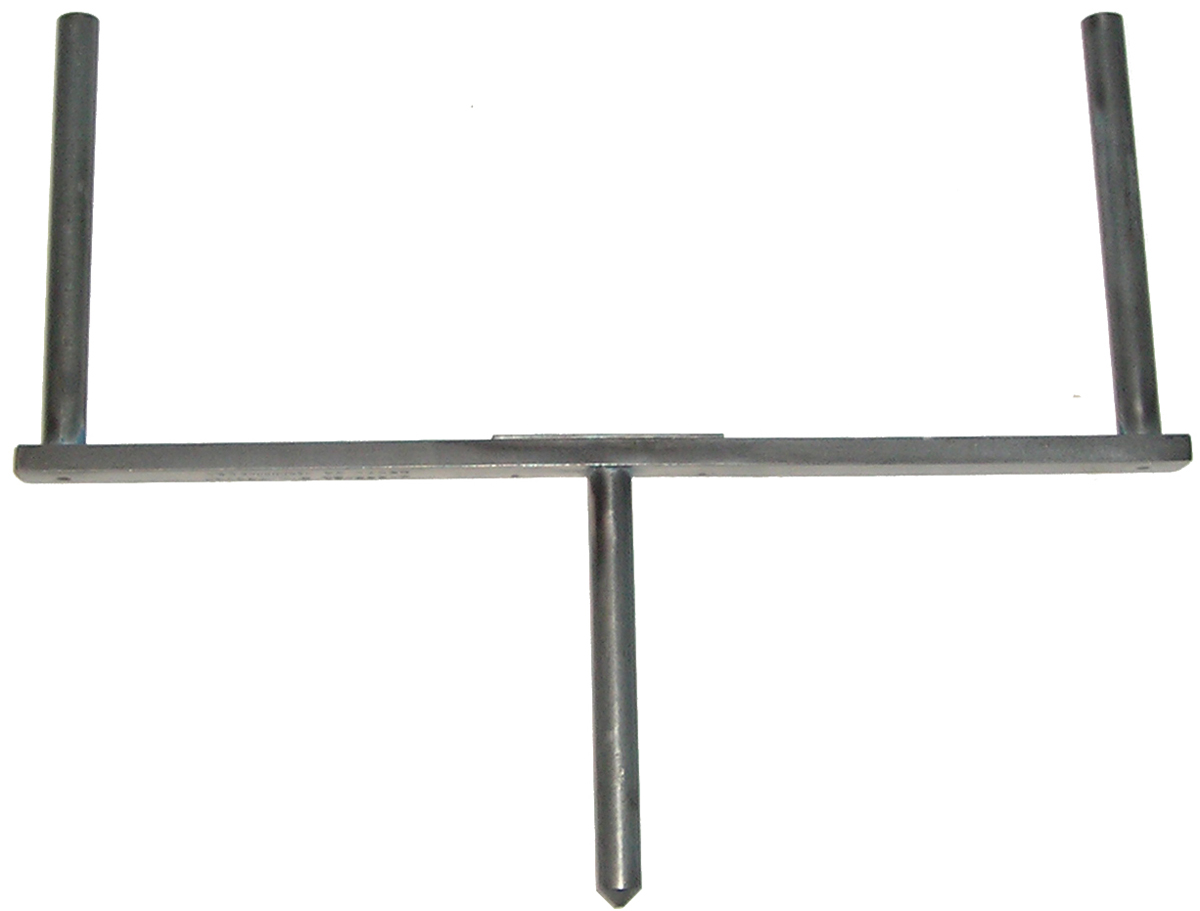
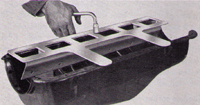
Operation 2. Use of J-969-2 Oil Pan Trough Depth Gauge. Place this gauge flat on flange surface of oil pan with gasket removed and with the single pointer on gauge down toward oil troughs. Move gauge from one end of the pan to the other, sliding it at the point where troughs are located and make sure that the ground flange portion of the oil troughs just touch or clear the end of the pointer on the gauge. This checks the proper height of the oil troughs.
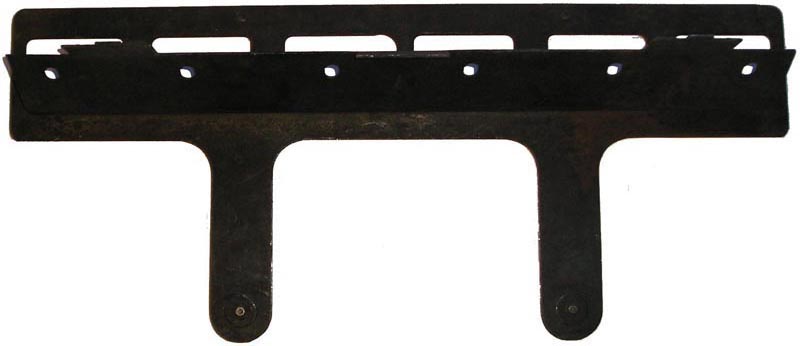
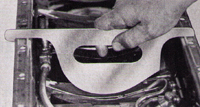
Operation 3. Use of J-969-1 Oil Pan Target. Illustration shows position of oil target on oil pan. Target is made with dowel pins that fit into bolt holes of oil pan to provide proper alignment. Holes in lower flange of oil target are are to be located on the opposite side of pan from oil line nozzle. Make sure that target rests firmly in place on pan. Use J-793-3 Water Faucet Assembly with a good flow of water through faucet into oil line. (If the oil nozzles are properly positioned, water will shoot through the small holes in the lower flange of the target.) If for some reason an oil nozzle has become bent out of true position and water does not shoot through the indicated hole, use J-793-2 Oil Line Nozzle Setting Gauge to slightly bend the nozzle until the water stream shoots through the checking hole.
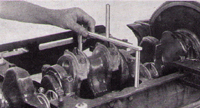
Operation 4. Use of J-969-2 Oil Pan Trough Depth Gauge. This view shows J-969-2 Oil Pan Trough Depth Gauge reversed in position on the bottom flange of the crankcase for checking connecting rod oil dipper clearance. With gauge positioned over the center of connecting rod , oil dipper should just touch or clear gauge, as illustrated. If an oil dipper interferes with the gauge, tap lightly on the end of the dipper with a hammer until it clears the gauge, first making sure that the dipper is drawn down tightly in place. If the dipper has too much clearance, use a pair of pliers to straighten the dipper lip until it just touches the gauge.